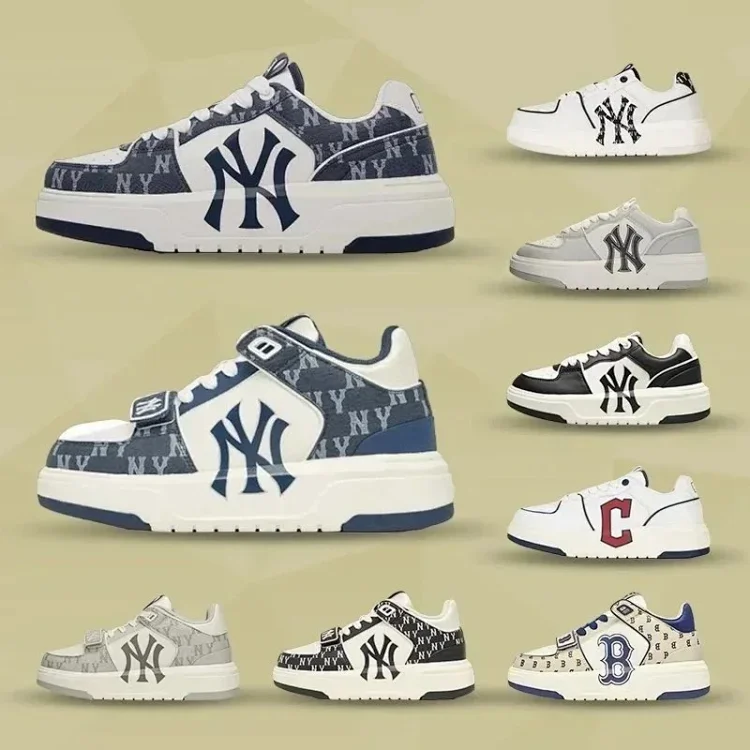
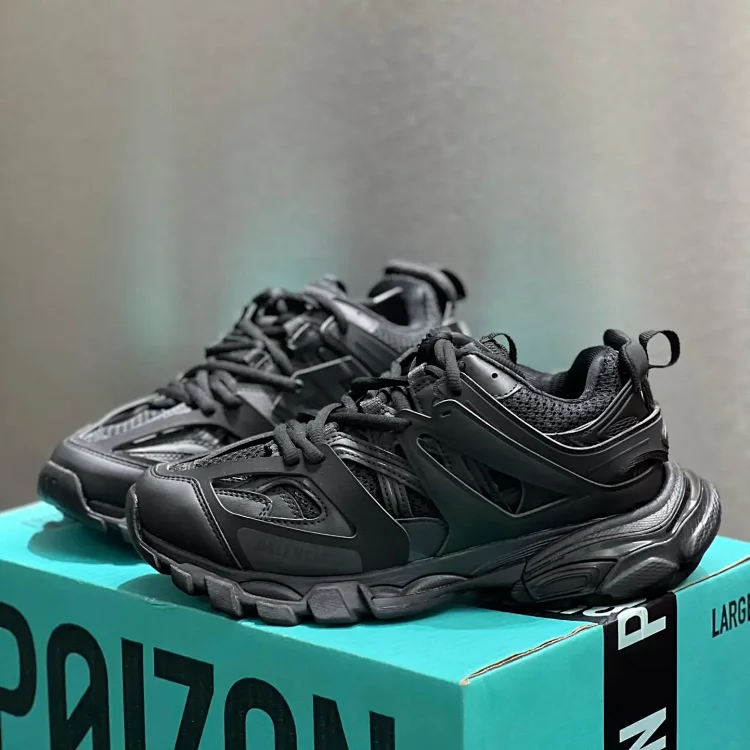
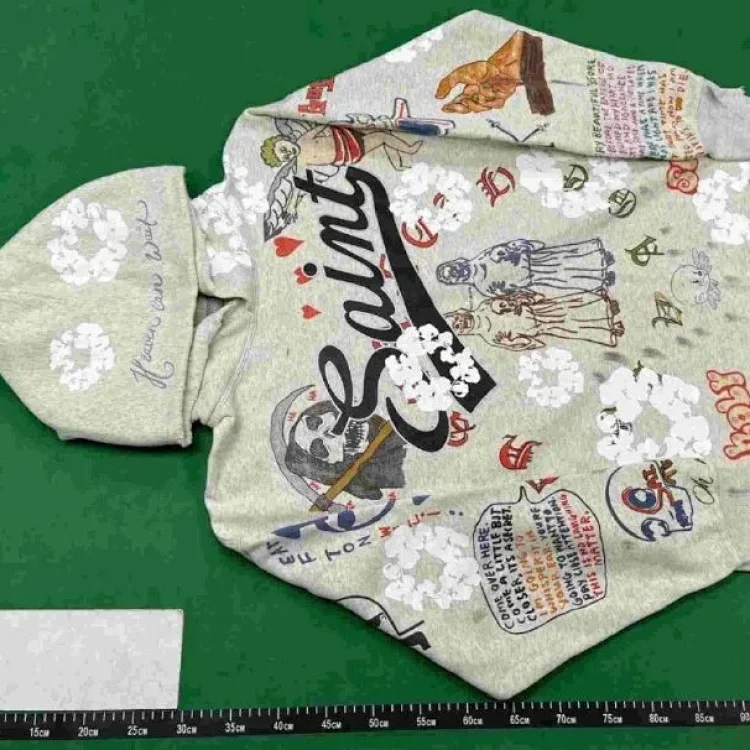
A dark mark on leather can be a scratch, a natural variation, a reflection or simply a shadow from the camera. Suede can look patchy when the nap points in different directions, while patent finishes can turn one overhead lamp into a bright white streak. That makes material-focused QC less about deciding whether a photo looks good and more about asking whether the same feature survives a controlled change in light, angle and surface orientation. This guide builds a repeatable Sugargoo leather QC photo review for smooth leather, suede and patent-style finishes without claiming material composition, authenticity or long-term performance from images alone.
Lock the item and finish before judging the surface
Begin with identity, not the suspected defect. Place the order record beside the warehouse photographs and record the selected colour, seller finish wording, size or version, quantity and any trim that should differ. Identify the photographed object and side: left or right shoe, front or back panel, outer surface or lining. A close-up without location context can show a real mark yet fail to prove where it appears.
Treat seller material language as a claim to be preserved, not a fact established by the image. A photograph may show a smooth, brushed or glossy surface, but it cannot reliably establish fibre content, tanning method, coating chemistry or authenticity. Use neutral observation fields such as smooth finish, directional nap, high gloss, visible grain, raised line or colour break. Keeping observation separate from the listing claim prevents a familiar-looking texture from becoming an unsupported material conclusion.
Build a two-light evidence set instead of asking for more random photos
For a decision-critical area, request one orientation image and two targeted views. The orientation image should show the whole item and locate the questioned area. The first close view should use broad, even light with the camera near perpendicular. The second should change light direction or camera angle while keeping distance and framing similar. Comparison matters more than quantity because a shadow or reflection usually moves when geometry changes.
Make the request repeatable: name the panel, state its position relative to a seam or edge, and ask that the same area fill both frames. Do not request filters, sharpening or aggressive exposure correction. Preserve originals and the check date. Verify any optional-photo terms in the live order rather than assuming a fixed count, price or response window.
Separate illumination, camera processing and actual surface evidence
Colour appearance is conditional. Warm and cool lamps shift a neutral surface; mixed light creates different casts; automatic white balance makes consecutive frames disagree. A bright table, coloured wall or packaging can also change reflected light. Record the lighting setup, any neutral reference and whether both sides share the same exposure. One colour difference is a reason to clarify, not proof of the wrong variant.
Look for behaviour across views. A lighting cast often affects the frame or moves with the source. A stain, abrasion or coating loss tends to remain at the same point, though contrast may change. Compression and sharpening can erase texture or create halos. If evidence is too processed or small, mark it unresolved and request an original close view.
Read smooth leather-style surfaces through continuity and edge shape
On a smooth surface, compare colour continuity, grain direction, sheen and the feature boundary. A soft-edged dark zone following a curve may be shading. A fixed thin line that interrupts sheen may support a scratch observation. A diffuse patch with the same boundary across both light views may support a stain or coating variation. Write appears, visible in both views and depth unconfirmed instead of turning an image into a diagnosis.
Check toe bends, heel counters, handles, flap corners, piping and folds near hardware separately. Packing creases do not prove permanent deformation; a cut may look shallow until side light reveals it. Ask whether the feature breaks an edge, exposes another layer, changes the outline or affects a connection. Those observations are more useful than a label such as bad leather.
Review suede and other napped finishes by changing the nap direction
Suede-style surfaces reflect light differently as the nap is brushed, so patches can appear lighter or darker without a stain. Before judging colour, ask for the same area lightly brushed in opposite directions where safe. Compare it with surrounding panels after the nap direction is consistent. Never infer composition from the response; record only the visible change.
A persistent mark deserves attention when it remains after the nap changes, has a defined border, shows missing or flattened fibres, or changes surface height. Inspect seams and edges because adhesive, pressure and handling alter nap locally. Dust may move between views; embedded discolouration generally does not. Do not request experimental cleaning unless the live workflow explicitly permits and documents it.
Control reflections on patent and high-gloss finishes
Patent-style and other glossy coatings behave like curved mirrors. A lamp, window, phone or photographer can appear as a white stripe, dark block or distorted shape. Start with a full view that shows the lighting environment, then request a slight angle change. A reflection should move or change shape relative to the surface; a scratch, bubble or coating break remains attached to the same location. Diffuse light can reduce glare, while shallow side light can reveal raised or indented features.
Do not treat the disappearance of a mark as proof that nothing is present. Very fine scratches may only appear at a narrow angle, while strong glare may hide them in the alternate frame. Use a three-view result: visible under even light, visible under angled light and location-confirmed in the full item view. Check edges, folds and holes for lifting, cracking or separation, but describe only what the photographs support. Shine cannot prove coating quality or future resistance to cracking.
Classify severity by location, extent and function—not emotion
Use a simple matrix with four fields: location, extent, repeatability and possible functional relevance. Location distinguishes a hidden lining from a main front panel or load-bearing connection. Extent records whether the feature is isolated, repeated or spread across an area without inventing a precise size when no scale is present. Repeatability states whether the feature appears in both controlled views. Functional relevance asks whether it reaches an edge, seam, fastener or flex point; it does not claim that failure will occur.
Apply a prewritten decision rule. Cosmetic-low can mean a small, repeatable feature in a concealed area that you already agreed to accept. Clarify can mean a feature whose identity changes with light or lacks a location view. Material-high can mean a clearly repeated cut, separation, missing coating area or mismatch in a prominent or structural location. These labels are editorial decision aids, not universal manufacturing grades. Your threshold should come from the exact ordered item and your own documented acceptance criteria.
Compare like with like across panels and paired items
Symmetry checks are useful only when the compared areas should match. Photograph paired shoes, straps, sleeves or bag panels in the same frame, at the same distance and under the same light. Match corresponding points rather than comparing a curved outer panel with a shaded inner panel. If the listing intentionally combines finishes or colour blocking, preserve that specification before calling a difference. Natural-looking variation alone does not prove either acceptability or a defect.
Create one row per comparison: ordered feature, left or first component, right or second component, lighting condition, observed difference and confidence. High confidence requires clear identity and repeatable placement. Medium confidence supports another targeted request. Low confidence means the areas, light or scale are not comparable. Avoid averaging colour values from screenshots or using an eyedropper on compressed images as if it were calibrated measurement; screen output and camera processing add another layer of uncertainty.
Choose approve, clarify or act while preserving the evidence chain
Approve when identity is confirmed, the decisive surface areas are documented under useful lighting and every repeatable feature falls within your written acceptance rule. Clarify with one precise request when a moving reflection, nap direction, missing location view or mixed lighting prevents a decision. Act through the current order workflow when a material mismatch or unacceptable visible condition is documented and the available order options still permit a remedy. Seller terms and platform actions can change, so the live order record controls the next step.
Save the ordered variant, seller finish claim, original images, view descriptions, check date, observations, confidence and decision together. Redact names, addresses, account details and unrelated orders before sharing. A defensible Sugargoo leather QC photo record does not promise genuine leather, accurate colour on every screen, comfort or durability. It shows what was visible, which lighting variables were tested, what remained uncertain and why the evidence supported approval, clarification or action.
Material-focused QC becomes reliable when the lighting test is part of the record. Anchor every mark to the exact item, compare the same area under changed geometry, apply finish-specific rules and keep claims inside what a photograph can show. When colour, depth or composition remains uncertain, preserve that uncertainty instead of turning it into a confident verdict.